

Key Takeaways
Why Layering Order Actually Matters
Skincare products are formulated to interact with the skin at specific pH levels and absorption depths. When you apply a thick occlusive moisturizer before a water-based serum, the serum can't penetrate effectively — the barrier is already sealed. Similarly, some ingredients chemically interfere with each other, reducing potency or triggering irritation. Sequencing isn't aesthetic preference; it reflects how skin and formulations physically behave.
If you're starting from scratch, the foundational routine guide covers the essential three-step framework before you add actives. Once that base is solid, precise layering becomes your next efficiency lever.
What you will need
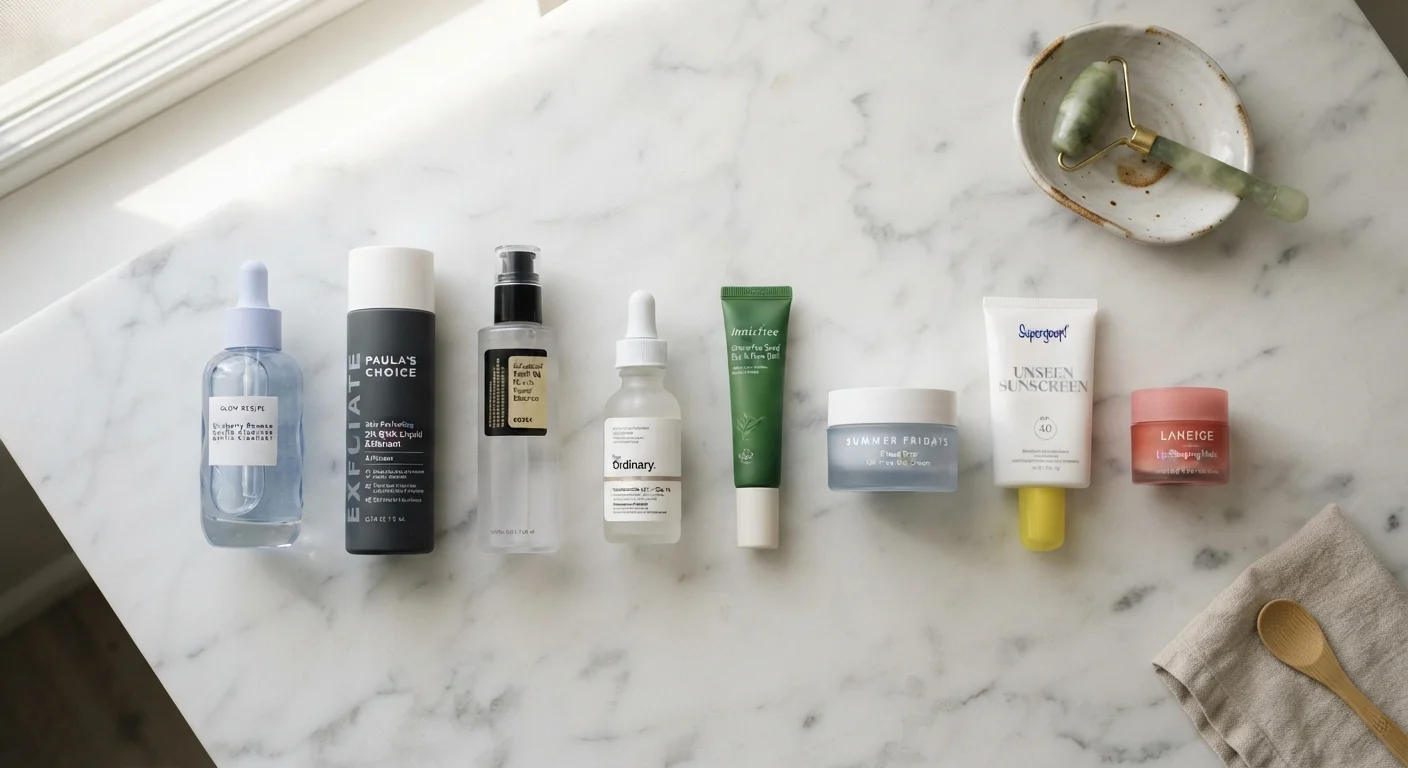
What You'll Need Before You Start
Getting layering right doesn't require buying new products — it requires understanding the ones you already own.
Cleanser
Removes surface debris and prepares bare skin to receive subsequent layers effectively.
Toner or essence
Rebalances skin pH and adds an initial layer of hydration before serums.
Active serum (vitamin C, retinol, AHA/BHA, niacinamide, etc.)
Delivers targeted treatment ingredients while skin is most receptive.
Moisturizer
Seals in previous layers and supports the skin barrier.
Broad-spectrum sunscreen (AM only)
Provides UV protection as the final, unobstructed top layer in the morning.
The Step-by-Step Layering Method
Follow these steps for both AM and PM routines. Note that morning and evening sequences differ — your AM vs. PM skincare guide explains which actives belong in which session and why.
Cleanse on a clean canvas
Begin every routine with a gentle cleanse. This removes surface oils, residue, and any previous product so that subsequent layers can contact skin directly rather than sitting on top of buildup. Pat skin dry — don't rub — and leave it slightly damp if you're applying a hydrating toner next.
Apply pH-sensitive actives first
If your routine includes vitamin C (ascorbic acid), an AHA, or a BHA, apply these to bare skin immediately after cleansing. These ingredients require a low-pH environment to function correctly, and layering other products beneath them raises pH and reduces efficacy. Apply a thin, even layer and allow it to absorb for 30–60 seconds.
Layer remaining serums from thinnest to thickest
After pH-sensitive actives have settled, apply any remaining water-based serums in order of consistency — the most fluid textures first. Hyaluronic acid serums, peptide serums, and lightweight hydrating formulas all belong in this window. Press each product gently into skin rather than rubbing; this encourages absorption without disrupting layers beneath.
Apply spot treatments if needed
Targeted treatments — such as those for hyperpigmentation or blemishes — generally go on after serums but before moisturizer. They need direct contact with the area being treated, and a moisturizer applied first would create a physical barrier. Use only the amount needed for the specific area; over-applying can cause unnecessary irritation.
Seal with moisturizer
Moisturizer acts as a sealant that helps the layers beneath stay hydrated and prevents transepidermal water loss. Choose a texture appropriate for your skin type — a lightweight gel for oily skin, a cream or balm for dry skin. Apply across the full face, including any areas where actives were used.
Finish with SPF (morning only)
Sunscreen is always the final step in a morning routine. Applying anything on top of SPF — including a moisturizer — disrupts the film that provides UV protection, reducing its effectiveness. Allow sunscreen to set for about 60 seconds before applying makeup. For more on SPF habits supported by dermatologists, see the sun protection habits guide.
When in Doubt, Simplify
A routine with fewer, well-chosen products applied correctly outperforms a multi-step routine applied in the wrong order. If you're experiencing irritation or unexpected breakouts, step back to a basic cleanser-moisturizer-SPF routine and reintroduce actives one at a time. This also makes it much easier to identify which ingredient is causing a reaction.
Ingredient Combinations to Approach With Caution
Not every active belongs in the same routine. Below are the pairings that most commonly cause problems:
- Retinol + AHAs/BHAs: Both are exfoliating and can destabilize the skin barrier when used simultaneously. Use them on alternating nights rather than together.
- Vitamin C + niacinamide: At high concentrations, these two can form a compound that causes flushing. At the lower concentrations found in most retail products the effect is minimal, but if you experience redness, separate them into AM and PM.
- Benzoyl peroxide + retinol: Benzoyl peroxide can oxidize retinol, degrading its effectiveness. Use them in separate sessions.
Also worth checking: many routines unknowingly double up on the same actives across multiple products. The guide to ingredient overlaps helps you audit your shelf for redundancy.
Don't Stack Too Many Actives at Once
Introducing multiple new actives in the same routine — especially exfoliants and retinoids — significantly raises the risk of barrier disruption, redness, and peeling. Dermatologists commonly recommend adding one new active at a time and waiting two to four weeks before introducing another. This allows your skin to adjust and makes it easier to spot any adverse reactions.
Retinol Requires Special Handling
Retinol (a form of vitamin A) is one of the most evidence-supported actives in skincare, but it also carries the highest potential for irritation when misused. It should be used in PM routines only, never paired with AHAs or BHAs in the same session, and always followed by a moisturizer. If you are pregnant or breastfeeding, consult your healthcare provider before using any retinoid product, as this ingredient class is contraindicated during pregnancy.
Adjusting for Your Skin Type
Layering rules apply broadly, but texture choices and active concentrations should reflect your skin's needs. Oily skin generally tolerates thinner, gel-based layers more comfortably, while dry skin may need a richer occlusive step to finish. Sensitive skin benefits from shorter routines with wider spacing between actives. For a full breakdown mapped to skin type, see the skin-type–specific routine guide.
Seasonal conditions also affect how products perform and absorb — if your moisturizer feels less effective in cold months, this explains what's happening at the barrier level and what adjustments to consider.
This article is for general informational and educational purposes only. It is not a substitute for professional dermatological advice. If you have a skin condition, allergy, or concern, consult a qualified healthcare or skincare professional before changing your routine.