

Key Takeaways
What Battery Voltage Actually Tells You
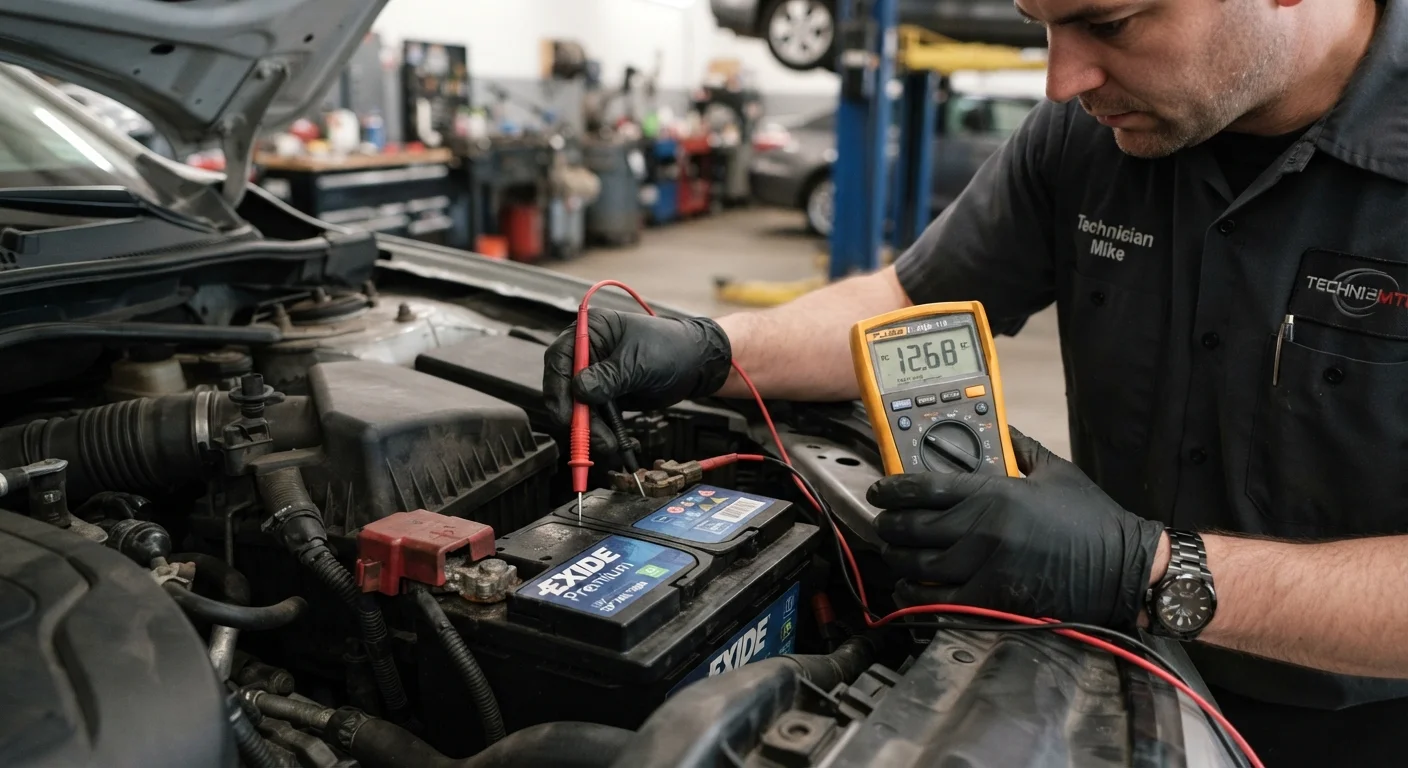
Your car's 12-volt lead-acid battery doesn't operate at a fixed voltage — its charge level is reflected in small but meaningful differences across the scale. A fully charged battery at rest (meaning the vehicle has been off for at least an hour) should read between 12.6 and 12.8 volts. At 12.4 volts, the battery is roughly 75% charged. Drop to 12.0 volts and you're looking at around 25% capacity — enough to start the car under favorable conditions, but a liability in cold weather or with extra electrical load.
A reading below 11.8 volts on a rested battery typically indicates a dead or deeply discharged cell, and the battery may not recover to reliable performance even after recharging.
Voltage alone, however, is only half the picture. A battery can hold a nominal resting voltage while failing to deliver adequate current under the real-world load of cranking an engine. That's where load testing becomes essential. For a fuller view of your vehicle's overall maintenance picture, see your car's complete maintenance schedule.
Voltage Tells You Charge — Not Capacity
A battery can read 12.6 volts at rest and still fail under load if its internal plates are degraded. Always follow up a voltage test with a load test for a complete picture of battery health. This is especially important for batteries older than three years.
Tools You'll Need
Before you start, gather the following:
Digital multimeter
Measures resting voltage at the battery terminals to assess charge level.
Battery load tester
Applies a controlled load to evaluate how well the battery performs under cranking conditions.
Battery charger
Restores the battery to full charge before load testing for accurate results.
Safety glasses and gloves
Protects eyes and skin from battery acid and any accidental sparking at terminals.
Wire brush or terminal cleaning tool
Removes corrosion from battery terminals to ensure solid electrical connections.
Step-by-Step: Testing and Evaluating Your Battery
Follow these steps in order. If at any point you see corrosion, cracked casing, or leaking fluid on the battery, stop and consult a qualified mechanic — physical damage can pose a safety hazard.
Perform a resting voltage test
Turn off the engine and all accessories. Wait at least one hour — longer if the car was recently driven — to allow surface charge to dissipate. Set your multimeter to DC voltage (20V range). Connect the red lead to the positive terminal and the black lead to the negative terminal. Record the reading.
- 12.6–12.8V: Fully charged
- 12.4–12.6V: Partial charge — recharge and retest
- Below 12.0V: Significantly discharged or failing
Recharge if needed before load testing
A load test performed on a partially discharged battery will produce inaccurate results. If resting voltage is below 12.4V, connect a battery charger and bring the battery to a full charge before proceeding. Use a charger appropriate for your battery type (standard lead-acid, AGM, or gel).
Conduct a load test
A load tester applies a simulated electrical load — typically half the battery's cold cranking amp (CCA) rating — for about 15 seconds and measures how well the battery holds voltage under that stress. Many auto parts stores offer free load testing in-store. If you own a dedicated battery load tester:
- Connect the clamps to the battery terminals, matching polarity
- Set the load to half the battery's rated CCA (found on the battery label)
- Apply the load for 15 seconds and read the voltage
A battery in good health should maintain at least 9.6 volts during the full load period at room temperature.
Inspect terminals and connections
Corrosion on battery terminals — the white or bluish powdery buildup — increases resistance and can mimic the symptoms of a dying battery. With the vehicle off, inspect both terminals. Light corrosion can be cleaned with a baking soda and water solution applied with an old toothbrush, followed by rinsing and thorough drying. Ensure the terminal clamps fit snugly with no movement.
Interpret results and decide on action
Compare your findings against the criteria below:
- Passes load test, 12.6V+ at rest: Battery is healthy — retest in 6–12 months
- Passes load test, low resting voltage: May have a charging system issue — have the alternator checked
- Fails load test: Replace the battery, regardless of resting voltage
- Battery 4+ years old with borderline results: Proactive replacement is often the more cost-effective choice
Disconnect in the Right Order
When disconnecting a battery for inspection or replacement, always remove the negative (black) terminal first and reconnect it last. Reversing this order while tools are near the positive terminal can create a short circuit. Some vehicles also require a relearn procedure for electronics after battery disconnection — check your owner's manual.
Reading the Results and Knowing When to Replace
Load test results are typically expressed as a pass/fail, sometimes paired with a cold cranking amps (CCA) reading. CCA is the battery's rated ability to start an engine at 0°F (-18°C) for 30 seconds while maintaining at least 7.2 volts. If your load test result falls significantly below the battery's rated CCA, replacement is warranted — even if the battery still starts the car on warm days.
Plan to replace when:
- The battery is three or more years old and failing load tests
- You've needed jump-starts more than once in a season
- The engine cranks noticeably more slowly than usual, especially in cold weather
- Headlights dim visibly when the engine idles
- The battery warning light appears on the dashboard
Temperature is a significant factor — heat accelerates internal corrosion, while cold reduces the available current. Drivers in climates with harsh winters or very hot summers should test annually. For a seasonal checklist, see seasonal car care preparation.
Battery replacement is also a good time to inspect the charging system. A failing alternator can drain a new battery within days, so if you replace a battery and it dies quickly, have the alternator tested too. For context on how battery health fits into broader vehicle upkeep, the complete car maintenance picture is a useful reference.