

Key Takeaways
Camera Modes
Camera modes are preset configurations built into your smartphone's camera app that automatically adjust settings — like shutter speed, aperture, and processing algorithms — for a specific type of shot. Switching modes tells the phone's hardware and software to prioritize different things: freezing motion, brightening dark scenes, or isolating a subject from its background. Most phones ship with far more modes than the average user ever explores.
Many modes use computational photography — software processing of multiple rapid exposures — rather than purely optical adjustments, which is why mode performance can vary significantly by phone model and software version.
Why Most Camera Apps Feel Overwhelming
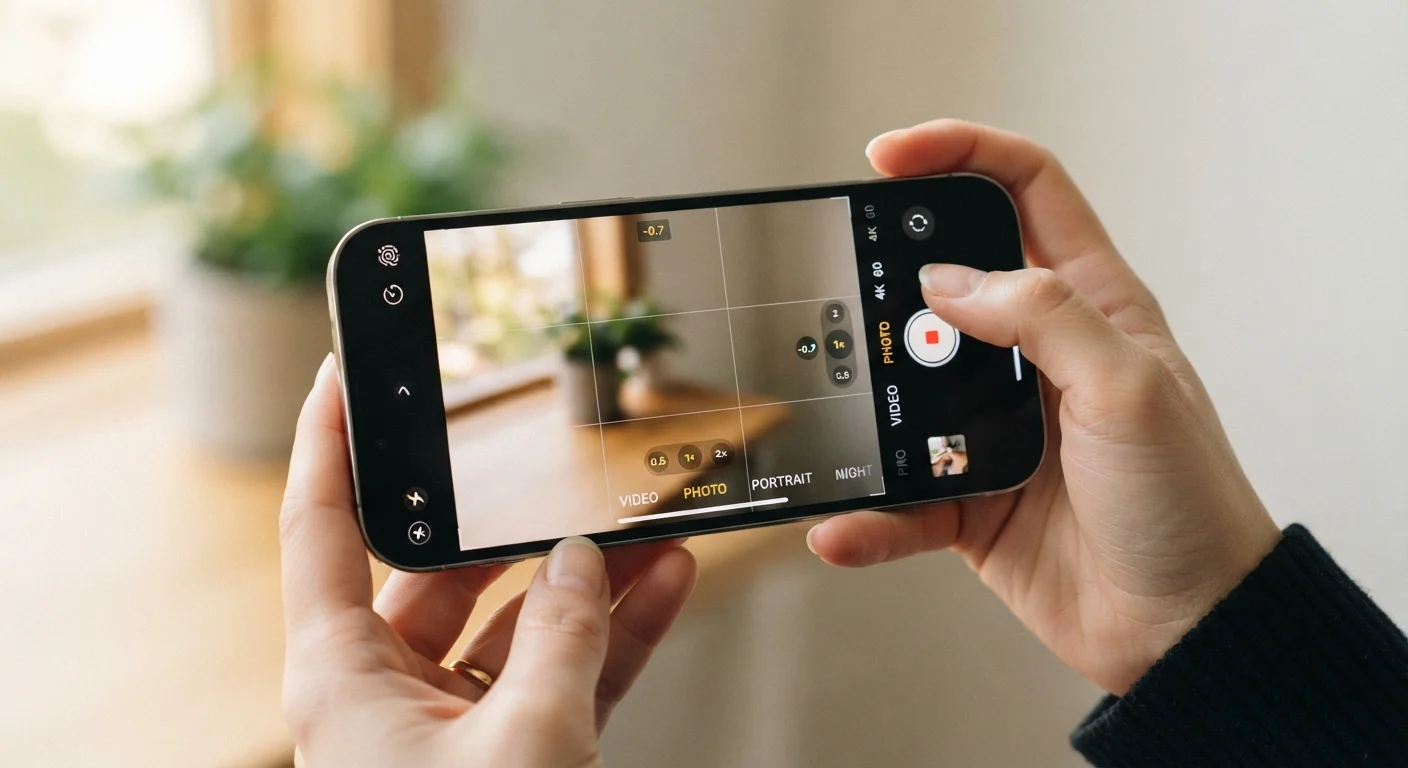
Open the camera app on most modern smartphones and you'll find a horizontal scroll of labeled modes beneath the viewfinder. Photo, Video, Portrait, Night, Pro, Panorama, Slow-Mo, Macro, Cinematic — and that's before you tap into the "More" menu. The result is that many people default to the standard Photo mode for everything, from birthday candles to close-up food shots, and wonder why the results feel flat.
Understanding what each mode is actually optimizing for changes how you shoot. You don't need to master all of them — but knowing four or five core modes well is enough to dramatically improve everyday photos. For a broader look at how hardware specs affect photo quality, see our guide to smartphone specs.
12+
Average shooting modes on a flagship smartphone
Most current flagship camera apps include more than a dozen labeled shooting modes, many of which go unexplored by the majority of users.
~80%
Smartphone photos taken in default auto mode
Industry observers and camera app analytics broadly suggest the vast majority of smartphone shots are captured in the default automatic photo mode, bypassing all specialized options.
The Four Modes Worth Learning First
Portrait Mode
Portrait mode uses the phone's depth-sensing data (often from a secondary lens or software analysis) to separate a subject from its background and apply artificial blur behind it. The effect mimics what a DSLR achieves with a wide aperture lens. It's most reliable with human faces at a comfortable conversational distance, and tends to struggle at the edges of hair, glasses, or translucent objects. Some phones let you adjust the intensity of the blur after the shot is taken.
Night Mode
Rather than brightening a photo with flash, Night mode holds the shutter open across a brief window — typically one to five seconds — and merges multiple frames into a single, well-exposed image. The phone's software aligns these frames to reduce blur from minor hand movement. The result is a naturally lit low-light scene with far less grain than a single exposed frame would produce. The trade-off: moving subjects will appear blurred or ghosted.
Pro or Manual Mode
Pro mode (sometimes called Expert, Manual, or Custom) exposes controls that are otherwise handled automatically: ISO, shutter speed, white balance, and focus distance. This is the mode for photographers who know exactly what they want and find the automatic system second-guessing them. It takes practice, but gives you the most control over the final image — and on phones that support it, often enables RAW file output.
Macro Mode
Macro mode shifts focus to subjects just a few centimeters away — a flower petal, a circuit board, a coin. On phones that include a dedicated macro lens, this is a physically distinct camera with a short minimum focus distance. On others, it's achieved by cropping into the ultra-wide lens. The difference matters: a true macro lens typically produces sharper, more detailed results.
Start With One New Mode at a Time
Rather than trying to learn every mode at once, pick one — Night mode is a strong starting point — and use it deliberately for a week. Compare results against what you'd get in standard Photo mode in the same conditions. Building familiarity one mode at a time is far more effective than switching randomly and hoping for better results.
Video Modes Deserve Separate Attention
Still photo modes and video modes operate on different logic. Cinematic mode, available on some phones, applies automatic focus shifts between subjects in the frame to simulate rack focus — a technique commonly used in film production. Action or Sport video modes increase frame rate and apply stabilization algorithms that trade some field of view for smoother footage.
Slow-motion video captures at a high frame rate (often 120, 240, or even 960 frames per second, depending on the phone) and plays back at the standard 30fps, creating a slow-motion effect. The catch: higher frame rates require more light and produce larger file sizes. In dim conditions, slow-motion footage can look grainy or soft.
Modes the Phone Adds for You — AI and Scene Detection
Many phones now include automatic scene detection that shifts settings without you choosing a mode at all. Point at food and the camera may quietly boost saturation and sharpness. Point at a dog and it might engage a faster shutter. This can produce pleasing results, but it can also apply adjustments you didn't want — over-saturated landscapes, artificially smoothed skin textures, or HDR effects that make a scene look stylized rather than natural.
If you notice the camera making choices that don't match what you're seeing with your eyes, look for an HDR toggle, AI enhancement switch, or a setting labeled "Scene Optimizer" or similar. Turning these off in standard Photo mode gives you a more neutral baseline. From there, choosing the right dedicated mode puts you back in deliberate control.
For readers interested in other overlooked features on their devices, our article on mobile privacy settings most users never touch covers settings worth reviewing on both iOS and Android. And if you've encountered claims that more megapixels always means better photos, our piece on common smartphone myths addresses that directly.
Mode Names Vary by Manufacturer
Camera mode labels are not standardized across Android manufacturers or between Android and iOS. What one phone calls "Pro" another may label "Expert" or "Manual." If you can't find a mode described in this article, check your phone's camera help section or search for your specific model's camera guide. The underlying functionality is usually present even if the label differs.