

Key Takeaways
Why Caulk Fails in the First Place
Bathroom caulk sits at the intersection of two forces that never stop working against it: moisture and movement. Tubs and shower surrounds flex slightly every time they're used, tile grout expands and contracts with temperature swings, and steam keeps the surface perpetually damp. Over time, even well-applied caulk loses its elasticity and adhesion.
There's also a chemistry issue. Standard paintable acrylic caulk — the kind sold for interior trim — is not formulated for standing water or sustained humidity. When homeowners grab whatever tube is handy rather than a product rated for wet areas, the seal degrades far faster than it should.
Understanding the root causes is half the battle. For a broader look at how caulk differs from grout and mortar and when each is appropriate, see our plain-language field guide.
Water Behind Tiles Is a Serious Problem
If caulk has been missing or failing for an extended period, water may have already penetrated behind tile and into the wall substrate. Look for soft drywall, discolouration, or a musty smell — these signs suggest damage that goes beyond a simple re-caulk. In those situations, consult a licensed contractor before proceeding, as improperly sealed wet-area walls can lead to significant structural and mould-related issues.
Common Caulking Mistakes and How to Avoid Them
The mistakes below account for the vast majority of re-caulking jobs that fail within months of completion. Work through each one before you pick up a caulk gun.
Applying new caulk directly over old caulk without removing the existing bead.
Why it happens: Removing old caulk is tedious, and the logic of "covering it up" seems like a timesaver. In practice, new caulk can't bond to old, degraded caulk the way it bonds to clean tile or tub surfaces.
Using an all-purpose or paintable acrylic caulk in a wet shower or tub surround.
Why it happens: General-purpose acrylic caulk is cheaper and widely available. Shoppers may not notice — or check for — a wet-area or kitchen-and-bath designation on the label.
Caulking over a damp or dirty surface, resulting in poor adhesion and early failure.
Why it happens: Homeowners often want to finish the job the same day old caulk is removed. If the joint hasn't fully dried — or if soap scum and mildew residue remain — adhesion is compromised from the start.
Using grout in flexible joints at corners and changes of plane instead of caulk.
Why it happens: Grout and caulk look similar once dry, and grout is often already on hand. However, grout is rigid and cracks when the substrate flexes, creating gaps that let water in.
Rushing the cure and exposing new caulk to water before it has set.
Why it happens: Cure times aren't always obvious, and a bead that looks dry to the touch may still be soft underneath. Using the shower too soon can deform or delaminate the fresh bead.
Step-by-Step: Doing the Job Right
Once you've avoided the pitfalls above, the actual process is straightforward.
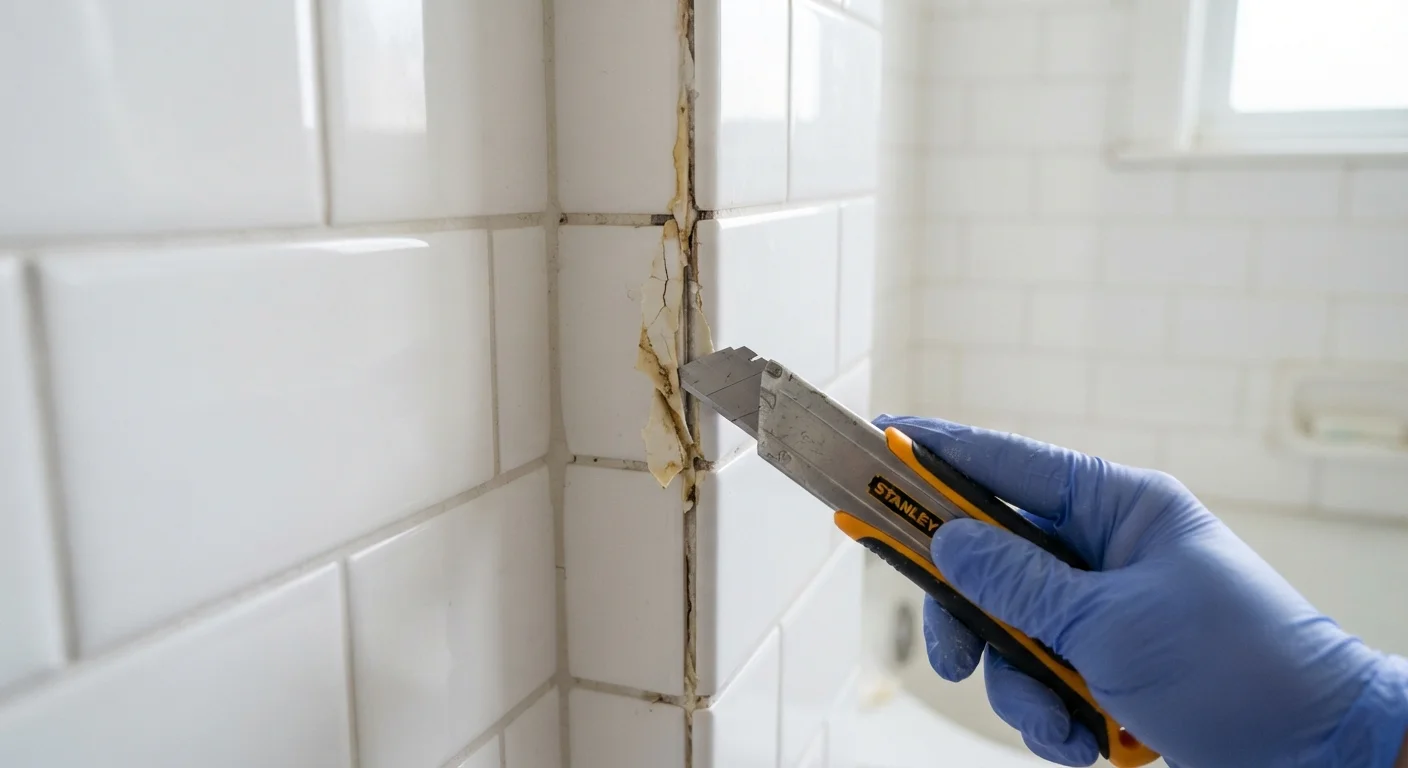
- Remove all old caulk. Use a plastic or metal caulk-removal tool and work slowly along the full bead length. Follow up with a caulk-removing solvent or isopropyl alcohol on a rag to dissolve residue.
- Clean and dry the surface completely. Scrub any mildew with a diluted bleach solution, rinse, and allow the joint to dry for at least 24 hours — longer in humid climates.
- Choose the right product. In wet zones, use a 100% silicone or a siliconized latex caulk labelled for kitchen and bath use with built-in mildewcide. Match the colour to your grout for a polished look.
- Cut the tube nozzle at a shallow angle (roughly 45°) for a fine bead. A smaller opening gives you more control than a wide cut.
- Apply in one steady pass. Keep consistent pressure on the gun trigger and move at an even pace. Don't stop and restart mid-joint if you can avoid it.
- Tool the bead immediately. Wet your fingertip or use a caulk-finishing tool to smooth the bead and press it firmly into the joint before a skin forms — usually within a few minutes.
- Allow full cure time. Most bath caulks need 24 hours before water exposure; 100% silicone products may need up to 48–72 hours. Check the manufacturer's label.
If moisture has already made it behind tiles and into the wall substrate, caulk alone won't solve the problem. In those cases, the repair scope expands considerably — similar to the surface-prep challenges covered in our drywall repair guide.
5–10 years
Typical lifespan of bathroom caulk
Industry guidance generally places the functional life of bath caulk at 5 to 10 years under normal use, though poor application or the wrong product type can shorten this considerably.
~48–72 hrs
Full cure time for 100% silicone caulk
Most 100% silicone bath caulk formulations require between 48 and 72 hours to fully cure before water exposure, according to typical manufacturer labelling guidance.