

Key Takeaways
Understanding Drywall Damage and Why Repair Method Matters
Drywall — also called gypsum board or wallboard — is a resilient but imperfect material. Over time, normal settling, humidity fluctuations, accidental impacts, and fastener pops all take a toll. The good news: most damage is repairable with basic materials and patience.
The key to a professional-looking result is matching the repair strategy to the size and type of damage. Using a mesh patch where paper tape is called for, or skipping backer support on a large hole, leads to cracking over time. Understanding the three main categories of drywall damage — surface cracks, small holes, and large holes — before you begin saves significant rework.
Surface cracks are common near window and door frames where stress concentrates. These typically need tape and two to three coats of compound rather than filler alone, which tends to crack back. Small holes from doorknobs, anchors, or screws are easily handled with self-adhesive mesh patches. Larger holes require a rigid backing so the new drywall piece has something to attach to and won't flex.
If your walls show cracks that are recurring, diagonal, or accompanied by sticking doors, those may signal foundation or structural movement. In those cases, consult a qualified contractor before making cosmetic repairs — you want to address the cause, not just the symptom. Similarly, if a wall section feels soft or shows staining, check for moisture intrusion first. For moisture-related wall damage near wet areas, also see our guide on why bathroom caulk fails and how to replace it, since addressing the water source is always the necessary first step.
Check for Hidden Hazards First
Before cutting or drilling into any wall, verify there are no electrical wires, plumbing pipes, or gas lines behind the drywall. Use a stud finder with AC wire detection and consult your home's blueprints if available. If you are unsure, contact a licensed electrician or plumber before proceeding. Cutting into a live wire or pipe can cause serious injury or property damage.
Tools, Materials, and Step-by-Step Repair
Gather your materials before starting — mid-repair supply runs let compound skin over and make feathering harder. Here's what you'll need:
Putty knife or drywall knife (4–6 inch)
Applies and feathers joint compound over cracks and small holes.
Wide taping knife (10–12 inch)
Spreads compound over larger patches with smooth, feathered edges.
Joint compound (all-purpose or lightweight)
The core patching material for filling and finishing drywall damage.
Drywall mesh tape or paper tape
Reinforces cracks and patch seams to prevent future cracking.
Sanding sponge or 120-grit sandpaper
Smooths dried compound between coats and before priming.
Drywall patch kit or backer board
Provides structural backing for holes larger than about three inches.
Drywall primer (PVA)
Seals the repaired area so finish paint absorbs evenly.
Utility knife
Scores and cuts drywall cleanly when shaping patches.
With your workspace prepped and materials ready, work through the following steps. Note that drying time is the biggest variable: in humid conditions or if your home is cool, compound may take longer than 24 hours per coat. Never rush drying with a heat gun — it causes surface hardening with a wet interior, leading to cracking.
Assess the damage and choose your method
Examine the damage carefully. Hairline cracks (under ¼ inch wide) need only compound and tape. Holes up to about 3 inches in diameter can be handled with a self-adhesive mesh patch. Larger holes — up to roughly 6 inches — need a California patch or a backer-board method. Anything significantly bigger may warrant professional assessment.
Prepare the damaged area
Use a utility knife to remove any loose paper facing or crumbling drywall around the damage. For cracks, widen the crack slightly with the knife tip to give compound a better surface to grip. Vacuum away dust and debris, then wipe the area with a damp cloth and allow it to dry completely before applying any compound.
Apply mesh tape or backing (for holes)
For small holes (up to 3 inches), center a self-adhesive mesh patch over the hole and press firmly. For larger holes, cut a piece of drywall slightly larger than the damage, trace its outline on the wall, cut out the damaged section cleanly, and screw a backer board (a thin strip of wood or metal) behind the opening before screwing the new drywall piece in place. Apply mesh tape over all seams.
Apply the first coat of joint compound
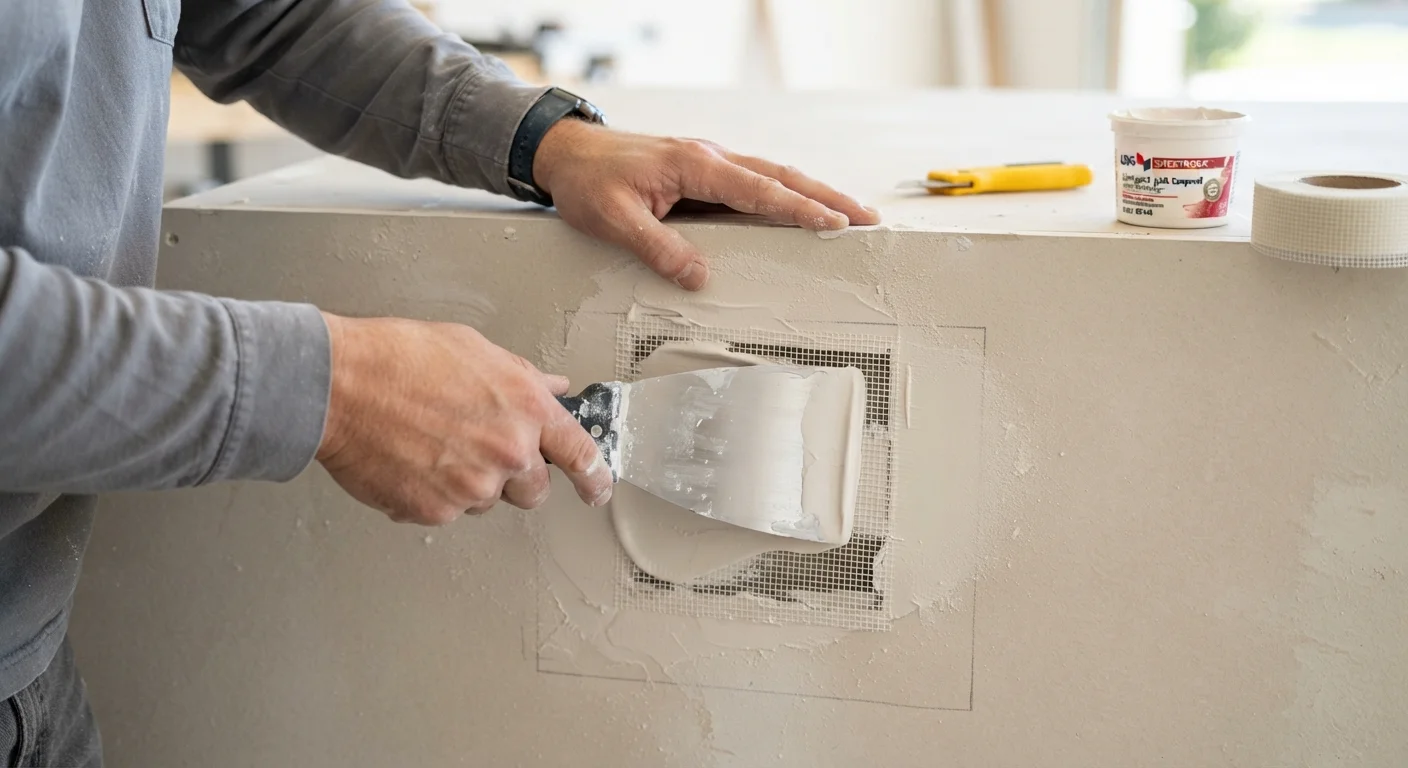
Using your 4–6 inch putty knife, apply a thin, even layer of joint compound over the tape or patch, pressing it firmly into the mesh. For cracks, work the compound into the crack before smoothing over the tape. Feather the edges outward rather than building up a mound. Allow this coat to dry completely — typically 24 hours at normal indoor temperatures.
Sand, then apply second and third coats
Once the first coat is fully dry, sand lightly with 120-grit sandpaper to remove ridges. Wipe away dust. Apply a second, wider coat using your 10–12 inch taping knife, feathering 4–6 inches beyond the first coat on all sides. Let dry fully, sand again, then apply a final thin skim coat if needed. The goal is a repair that blends invisibly into the surrounding wall.
Prime and paint for a seamless finish
Once the final compound coat is fully dry and sanded smooth, apply a PVA drywall primer to the patched area and extend a few inches beyond the repair zone. Allow the primer to dry per manufacturer instructions. Then apply your finish paint, feathering outward with a roller for the most natural blend. A second paint coat is often needed to fully conceal the repair.
Sand Between Coats for Best Results
Lightly sanding with 120-grit sandpaper between dried compound coats removes ridges and high spots before they compound (pun intended). Wipe away dust with a damp cloth before applying the next layer. Three thin coats almost always outperform one thick application.
Don't Skip the Primer Step
Painting directly over joint compound without a primer coat causes the topcoat to absorb unevenly, leaving a dull, blotchy spot called 'flashing.' Always apply a drywall primer or PVA primer to the patched area and allow it to dry before painting. This single step is the most commonly skipped — and most often regretted.
Once painted, a well-executed repair should be essentially invisible. If the texture of your existing wall — orange peel, knockdown, or smooth — doesn't match the repaired area after painting, a light texture spray or a sponge-dabbed compound technique can help blend the surface before the final paint coat.