

Key Takeaways
Is a DIY Oil Change Right for Your Vehicle?
Changing your own oil is one of the most accessible maintenance tasks for a home mechanic — but it isn't universally practical. Many late-model vehicles, particularly those with underbody panels requiring special tools to remove, turbocharged engines with specific drain protocols, or full hybrid powertrains with integrated oil-cooling systems, are genuinely easier to service at a shop. Some manufacturers also void warranty coverage if service isn't performed according to their documented procedure.
Check whether your vehicle has a low ground clearance that makes safe lifting difficult, or whether the oil filter is located in an unusually tight spot. If either applies, a professional service visit is the smarter call — not a defeat. For drivers building a broader maintenance habit, the first-timer's maintenance guide is a useful complement to this walkthrough.
What you will need
What You'll Need
Having everything ready before you begin is more than a convenience — mid-job trips to the store with oil draining into a pan are how small mistakes happen. Confirm your supplies match the owner's manual specifications exactly.
Oil drain pan
Catches used oil as it drains from the engine — must hold at least 1 quart more than your engine's capacity.
Oil filter wrench
Provides the grip needed to loosen a tightly seated oil filter without damaging the housing.
Socket wrench set
Used to remove the drain plug; the correct socket size varies by vehicle.
Jack stands (pair)
Safely support the vehicle at a raised height so you can work underneath — never substitute with a floor jack alone.
Floor jack
Lifts the vehicle to a working height before jack stands are placed.
Funnel
Directs fresh oil cleanly into the fill opening without spilling onto engine components.
Nitrile gloves and safety glasses
Protects hands from hot oil and eyes from drips while working under the vehicle.
Torque wrench
Allows you to tighten the drain plug to the manufacturer's specified torque, preventing leaks or stripped threads.
Step-by-Step Instructions
Check your owner's manual first
Before buying anything, open your owner's manual and confirm three things: the recommended oil viscosity (e.g., 5W-30), the total oil capacity in quarts, and the correct oil filter part number. These specifications are vehicle-specific — using the wrong viscosity can affect lubrication and engine protection. If you've misplaced your manual, most automaker websites offer free digital copies by VIN. For a deeper look at what those viscosity grades and formulation types actually mean, see our guide to engine oil types.
Let the engine cool down
A fully hot engine means scalding oil under pressure. Allow at least 20–30 minutes after driving before you begin. Slightly warm oil drains faster than cold oil, but safety comes first. If the vehicle has been parked overnight, a brief 2-minute idle can warm the oil enough to flow well without creating a burn hazard.
Lift and secure the vehicle safely
Position your floor jack under the manufacturer's designated jack points (shown in the owner's manual), raise the vehicle, then place jack stands under the reinforced frame rails. Lower the vehicle gently onto the stands before going underneath. Give the vehicle a firm push-test to confirm it is stable. Wheel chocks behind the rear tires add an extra layer of security.
Drain the old oil
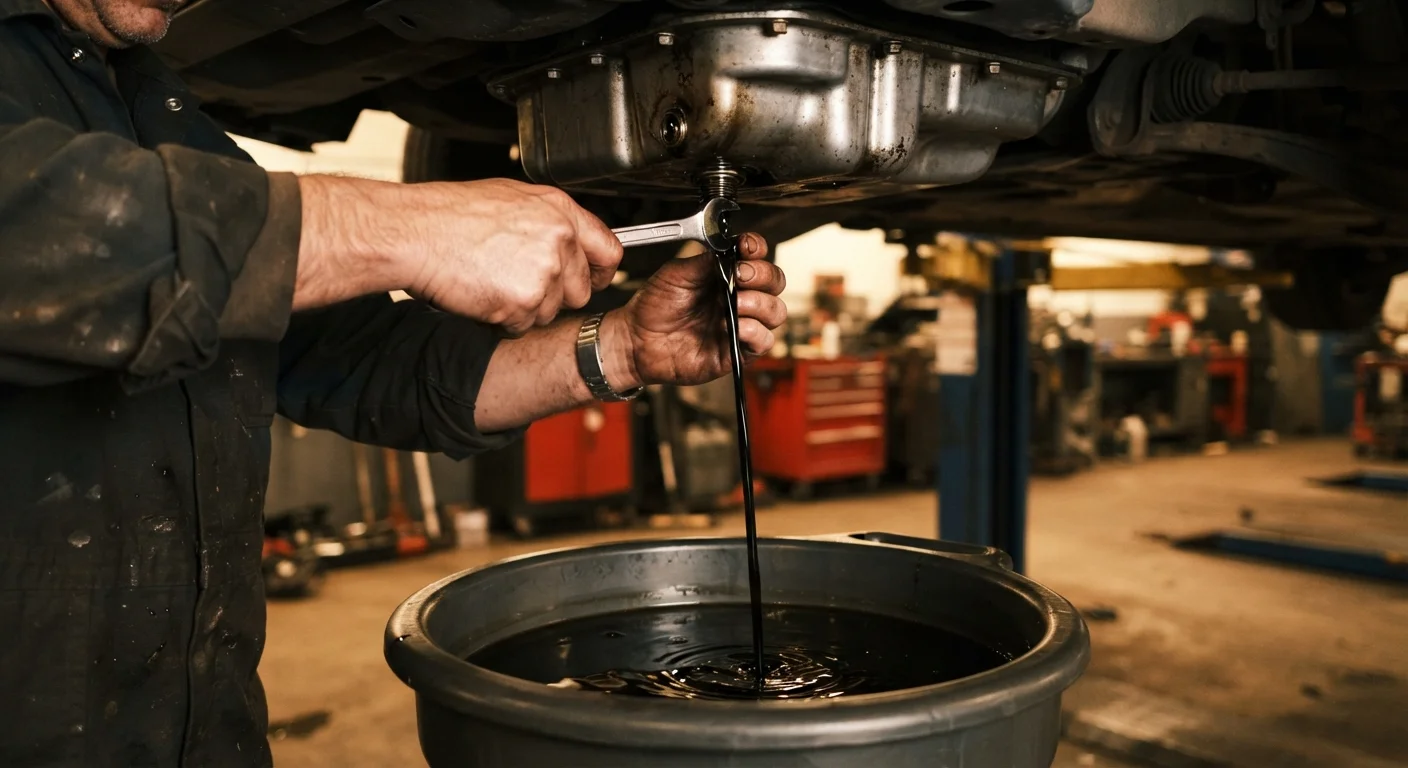
Slide the drain pan under the oil drain plug, which sits at the lowest point of the oil pan beneath the engine. Using the correct socket, turn the plug counterclockwise. As it loosens near the end, keep upward pressure on it so oil doesn't spray out suddenly when the plug releases. Let the oil drain fully — usually 3–5 minutes. Wipe the drain plug threads and inspect the plug's crush washer; replace it if it looks flattened or damaged.
Remove and replace the oil filter
Reposition the drain pan under the oil filter, which is typically a cylindrical canister threaded onto the engine block. Use an oil filter wrench to break the seal, then unscrew it by hand. Before threading on the new filter, dab a thin film of fresh oil on the new filter's rubber gasket — this ensures a proper seal and makes future removal easier. Hand-tighten the new filter until the gasket contacts the housing, then turn an additional three-quarter turn. Do not use the wrench to tighten.
Reinstall the drain plug and add fresh oil
Thread the drain plug back in by hand first to avoid cross-threading, then tighten with a wrench. If you have a torque wrench, apply the manufacturer's specified torque (typically 20–30 ft-lbs, but always check your manual). Lower the vehicle off the jack stands. Remove the oil fill cap on top of the engine, insert a funnel, and pour in the specified amount of new oil. Replace the fill cap and start the engine briefly — about 30 seconds — then shut it off and check under the vehicle for any drips at the drain plug and filter.
Check the level and dispose of used oil properly
Pull the dipstick, wipe it clean, reinsert it fully, then pull it again. The oil film should sit between the two marks — add small amounts to bring it up if needed. Pour your used oil into a sealable container (the empty oil bottles work well) and take it to an auto parts retailer or municipal recycling facility. Most accept used motor oil at no charge. Log the date, mileage, and oil type used — a simple note in your phone is enough.
Never Run the Engine Without Confirming Oil Is In It
Starting the engine before adding fresh oil — or starting it with the drain plug still removed — can cause catastrophic engine damage within seconds. Before turning the key, confirm the drain plug is torqued down, the filter is seated, and oil has been added to the correct level on the dipstick.
After the Change: What to Watch For
During the first drive after an oil change, pay attention to the oil pressure warning light on your dashboard. If it illuminates and stays on, pull over safely and shut the engine off immediately — driving with insufficient oil pressure can cause severe engine damage. A faint oil smell from under the hood for the first few miles is normal as small residual drips burn off; a persistent burning smell or visible drip spot in your driveway warrants a closer look at the drain plug and filter.
How often you should change your oil depends on your vehicle, driving patterns, and oil type — and the answer may differ from what you've heard. The extended drain interval debate is worth reading before you assume the 3,000-mile rule applies to your car. For broader context on where oil changes fit in a full maintenance picture, see the complete car maintenance guide.
Record Every Oil Change You Do
Keep a simple log of each oil change: date, odometer reading, oil brand and viscosity, and filter part number. This record is valuable if a warranty issue arises and helps you stay on schedule. A note in your phone's memo app or a small notepad in the glove box both work well.