

Key Takeaways
Why Home Office Audio Fails — and What Actually Fixes It
Most home office audio problems aren't hardware problems. They're room problems. A professional-grade microphone placed in a bare, reflective room will still produce a hollow, echo-heavy signal. Conversely, a modest USB microphone positioned correctly in a well-treated space can sound remarkably clean. Understanding this distinction saves money and prevents chasing a hardware solution to an acoustic problem.
The three variables that control how you sound on a call are: the room's acoustic character, the microphone's type and placement, and the audio chain from microphone to software. Address them in that order and you'll resolve most issues efficiently.
What you will need
For readers also navigating headphone terminology — particularly noise cancellation features marketed on headsets — the noise-cancellation glossary clarifies what terms like ANC, passive isolation, and transparency mode actually mean in practical contexts.
USB condenser or dynamic microphone
Provides significantly cleaner voice capture than built-in laptop microphones.
Adjustable microphone boom arm
Positions the mic consistently at the correct distance and angle from your mouth.
Closed-back headset or headphones
Isolates audio playback so speakers don't bleed back into the microphone.
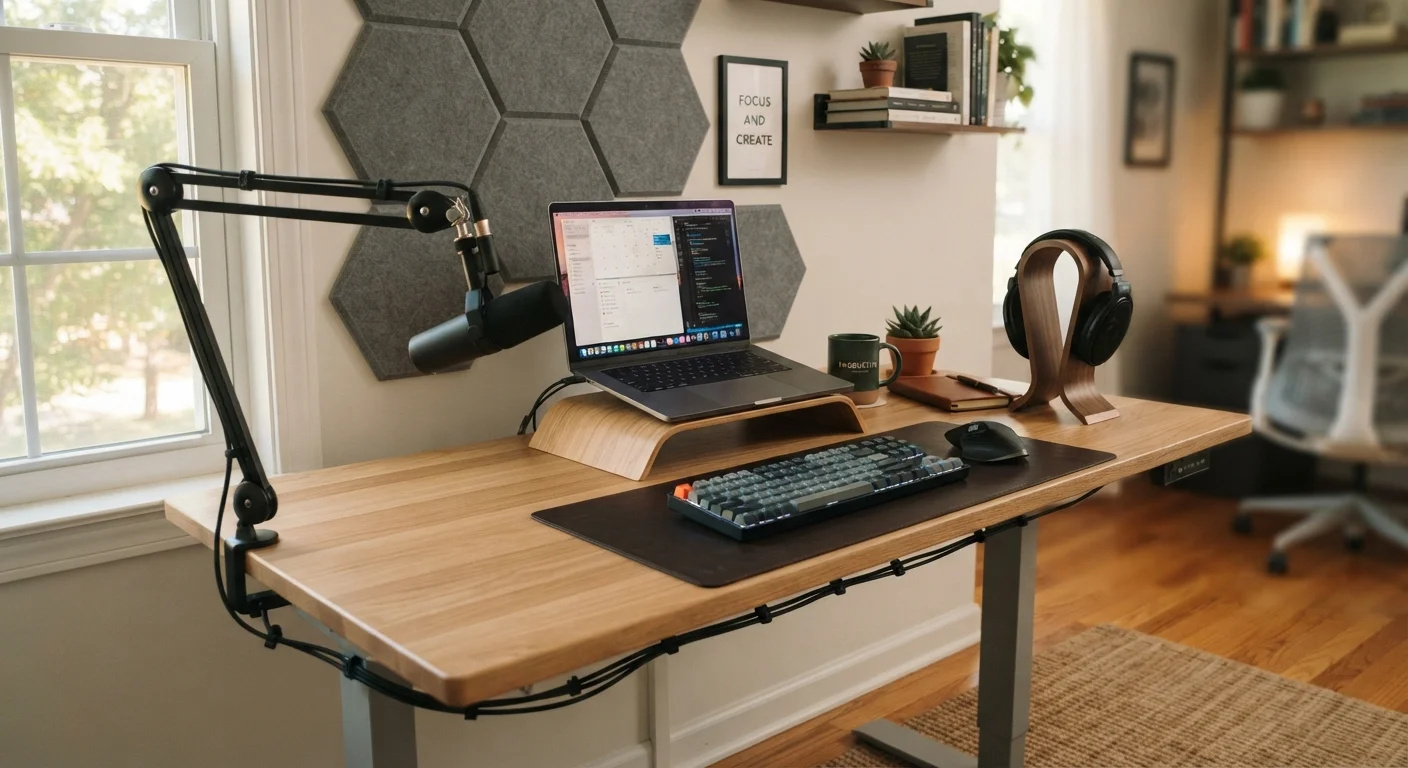
Acoustic foam panels or moving blankets
Absorbs high-frequency reflections that cause harsh echo in bare rooms.
Pop filter or foam windscreen
Reduces plosive sounds ("p" and "b" bursts) that distort recordings.
Step-by-Step: Building Your Professional Audio Setup
Audit your room's acoustics before buying anything
Clap once sharply near the center of your room and listen. A long, ringing decay means sound is bouncing off hard surfaces — walls, windows, bare floors, and desk surfaces. That reflection is what makes voices sound hollow or tunnel-like on calls. Identifying which surfaces are bare tells you exactly where to focus your treatment efforts before spending on new hardware.
Add soft materials to control echo
You don't need purpose-built acoustic foam to improve a room meaningfully. Bookshelves filled with books, a large area rug, heavy curtains, and an upholstered chair collectively absorb a substantial amount of mid- and high-frequency reflections. If your desk faces a bare wall, a folded moving blanket draped behind your monitor creates an effective temporary absorption surface. Acoustic foam panels on the wall directly behind your microphone position offer the most targeted improvement for the least area treated.
Position your microphone correctly
The single most impactful microphone adjustment costs nothing: position. Most USB condenser microphones are cardioid (meaning they capture sound primarily from the front and reject sound from the rear and sides). Place the mic 6–8 inches from your mouth, slightly off to one side or just below chin level, and angled upward toward your lips rather than pointing directly at them. This off-axis placement reduces plosives without requiring a pop filter. Avoid placing the mic between you and your monitor — fan noise and reflections off the screen will degrade the signal.
Choose a headset that won't cause feedback
Open-back headphones sound more natural for music listening but allow significant sound leakage — audio from your ear cups can reach your microphone, creating echo for everyone on the call. For video calls and voice work, closed-back headphones or a dedicated headset are the practical choice. Closed-back designs contain sound within the ear cup, minimizing the chance of bleed-back into a nearby microphone. If you use a headset with a built-in boom microphone, ensure the boom sits 1–2 finger-widths below your lower lip and angled toward the corner of your mouth, not directly in front of it.
Configure your software's audio settings
Hardware alone won't fix everything. Open your video conferencing app's audio settings and confirm it is using your external microphone — not the laptop's built-in mic — as the input source. Disable automatic gain control (AGC) if your platform allows it; AGC amplifies background noise during pauses in speech, which can be distracting for listeners. Enable echo cancellation if the option is present. Many platforms also offer a noise suppression filter: set it to a moderate level rather than maximum, as aggressive filtering can make your voice sound processed or robotic.
Test in the Conditions You'll Actually Use
Always test your audio setup during the time of day you typically take calls. Traffic noise, HVAC cycles, and household activity vary significantly by hour. A setup that sounds clean at 8 a.m. may struggle at noon when background noise levels peak. Record a short voice sample during your busiest period to catch any issues before a real meeting.
Don't Rely Solely on Software Noise Suppression
AI-based noise suppression tools built into conferencing platforms have improved considerably, but they work best as a complement to good acoustic treatment — not a substitute. Heavy suppression processing can introduce artifacts that make speech sound unnatural, and it cannot eliminate echo caused by poor room acoustics. Treat the room first; use software filters as a safety net.
Once your hardware and room are configured, revisit your audio settings periodically. Conferencing platforms update their audio processing engines regularly, and a setting that worked well several months ago may behave differently after an app update. A quick test call with a colleague every few months is a reasonable maintenance habit.
If your home also includes voice assistants, be aware that some devices with always-on microphones can introduce background audio pickup into your calls. For a grounded look at how these devices handle audio in the home, see our overview of voice assistant capabilities and privacy.